
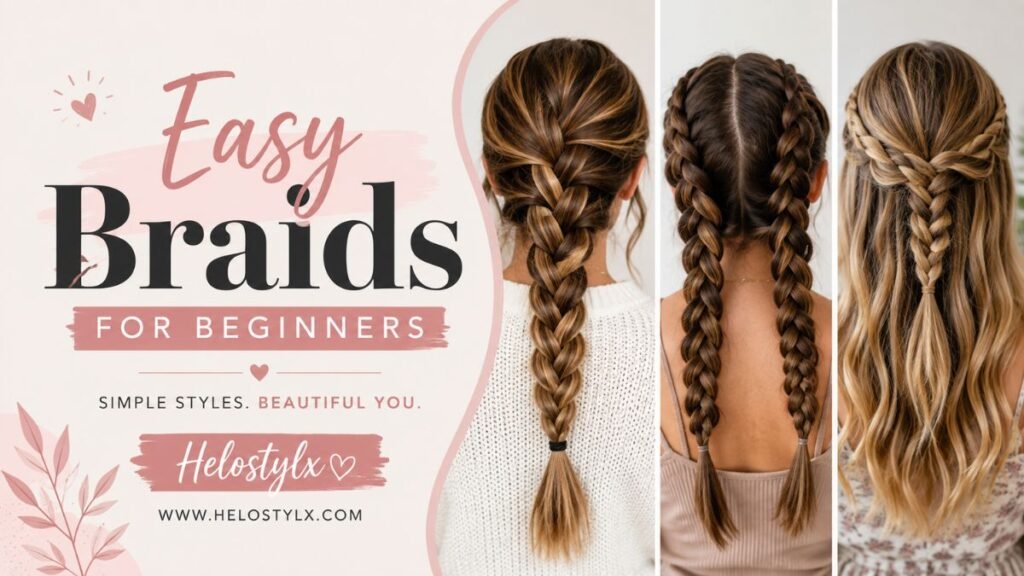
Learning to braid can feel intimidating when you are staring at a mirror with a brush in one hand and no idea where to start. The good news is that most gorgeous braided looks you see online are built from a handful of simple techniques, not years of salon training. Once you understand a few basic moves, you can recreate them on yourself, your kids, or a friend in just a few minutes.
This guide breaks down seven easy braids for beginners, each one chosen because it looks polished without demanding advanced skill. You will find clear steps, quick tips, and honest advice on mistakes to avoid, so you can go from nervous first timer to confident braider by the end of this article.
Why These Braids Work So Well for Beginners
Not every braid style is created equal when you are just starting out. The styles featured here share a few things in common that make them approachable:
- They rely on basic three strand or two section braiding, nothing fancy
- They forgive small mistakes because the finished look is meant to appear soft and relaxed
- They work on most hair types, including fine, thick, straight, and wavy hair
- They can be finished in five to ten minutes once you get the hang of them
Whether you have a toddler squirming in the chair or you are braiding your own hair in front of a bathroom mirror, these styles are designed to be low stress and high reward.
Quick Overview of the 7 Styles
| Braid Style | Difficulty | Time Needed | Best For |
| Pull Thru Braid | Easy | 5 to 7 minutes | Fine or thin hair that needs volume |
| French Braid | Beginner friendly | 5 minutes | Everyday wear, school, or work |
| Double Thick Braid | Very easy | 3 to 5 minutes | Making thin hair look fuller |
| Rope Twist | Easy | 3 minutes | A relaxed, boho vibe |
| Criss Cross Braids | Easy | 5 minutes | Playful, sporty everyday looks |
| Triple Braid Pigtails | Easy | 6 to 8 minutes | Kids and casual outings |
| Bubble Braid | Easy | 5 to 6 minutes | A modern, trendy twist on a ponytail |
Pretty Pull Thru Braid
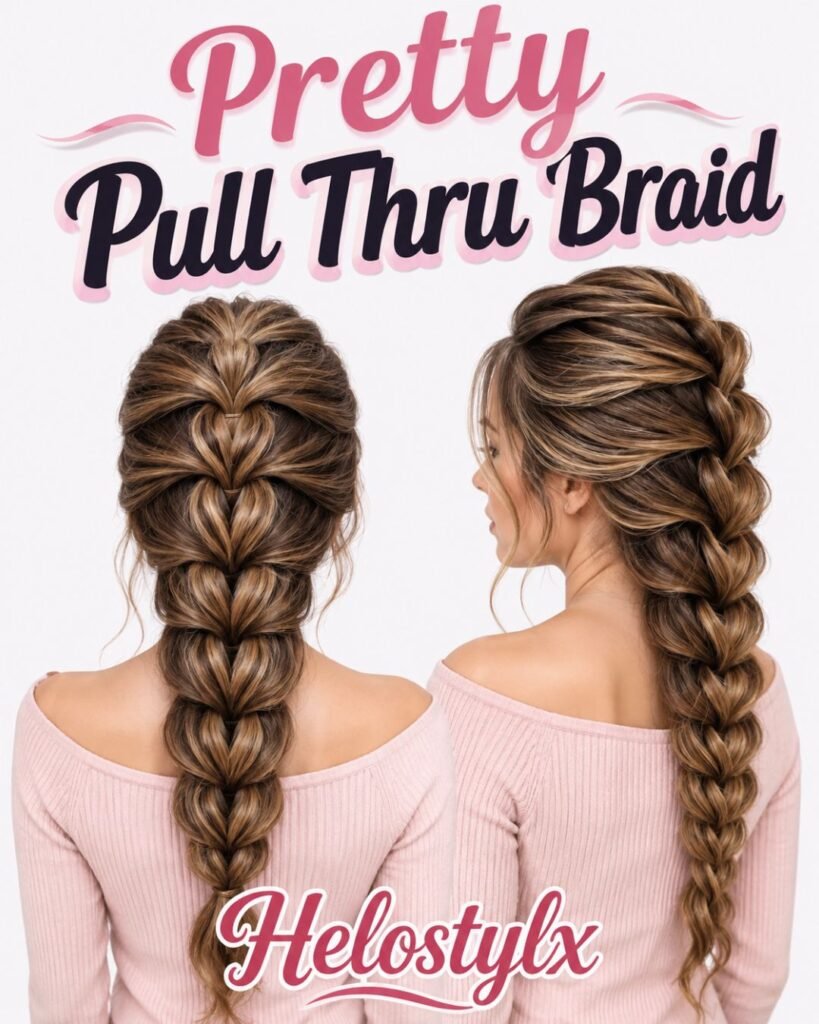
The pull thru braid is not technically a braid in the traditional sense, but it creates the illusion of one using ponytails instead of woven strands. It is one of the most forgiving styles for beginners because there is no actual plaiting involved.
How to do it:
- Section the top of the hair into a small ponytail near the crown and secure it loosely with a clear elastic.
- Just below it, gather another small section and secure it with a second elastic, leaving a gap between the two.
- Split the lower ponytail in half and pull it up and over the top ponytail, then thread the ends back through the gap.
- Continue this pattern of sectioning, splitting, and pulling down the length of the hair.
- Secure the final section with an elastic and gently loosen each loop for a fuller, softer finish.
This braid works beautifully on fine or thin hair because the layered ponytail structure adds volume the natural strand does not always give. It is not the best option for very curly hair, since curls can make the sections harder to see clearly as you work.
French Braid
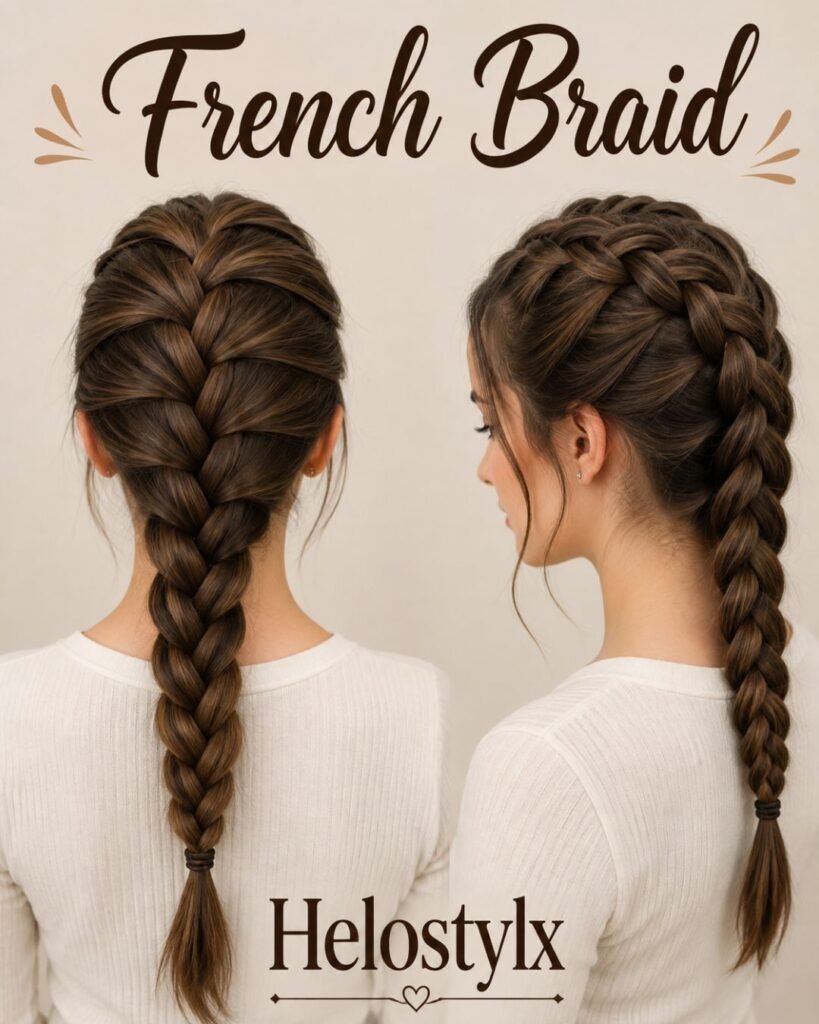
The French braid is the foundation of countless other braided styles, so mastering it opens the door to dozens of variations later on. It looks classic, holds well through a busy day, and works for nearly every hair length past the chin.
How to do it:
- Take a small section of hair at the crown and divide it into three even strands.
- Cross the right strand over the middle, then the left strand over the new middle strand.
- Before crossing again, add a small piece of loose hair from the side into each outer strand before it crosses over.
- Continue this pattern, picking up new hair with each crossover, until you reach the nape of the neck.
- Once all the hair is incorporated, finish with a standard three strand braid and secure the end with an elastic.
Keep your sections even in size for a neat, symmetrical result. If your part starts to look uneven, pause and check your reflection from the side before continuing.
Double Thick Braid
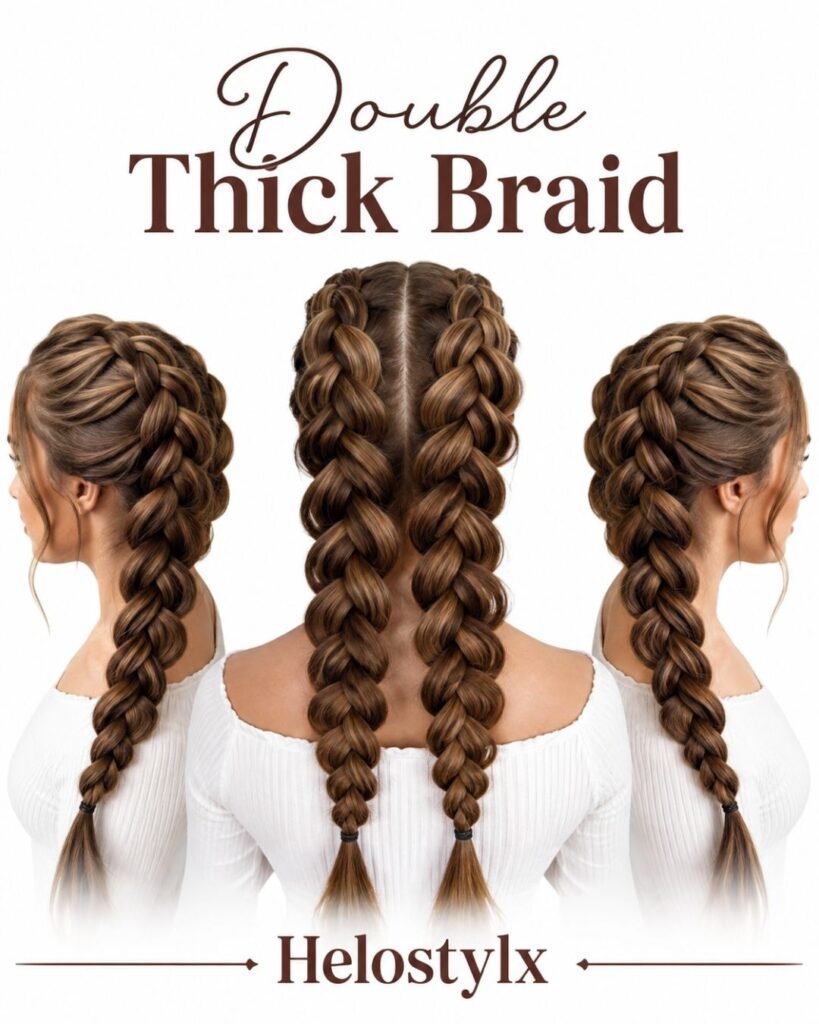
If you love the look of one thick braid but your hair does not quite have the volume, the double thick braid solves that problem instantly. This trick is one of the easiest on this list and takes only a few minutes.
How to do it:
- Gather all the hair into a low or mid ponytail and split it evenly into two sections.
- Braid each section into its own simple three strand braid.
- Twist the two finished braids around each other like a rope.
- Secure the bottom with a small elastic and gently tug on the edges of each braid to add fullness.
This method instantly makes a single braid look noticeably thicker, which is why it is a favorite among people with fine or thin hair who want a fuller finished look without extensions.
Rope Twist
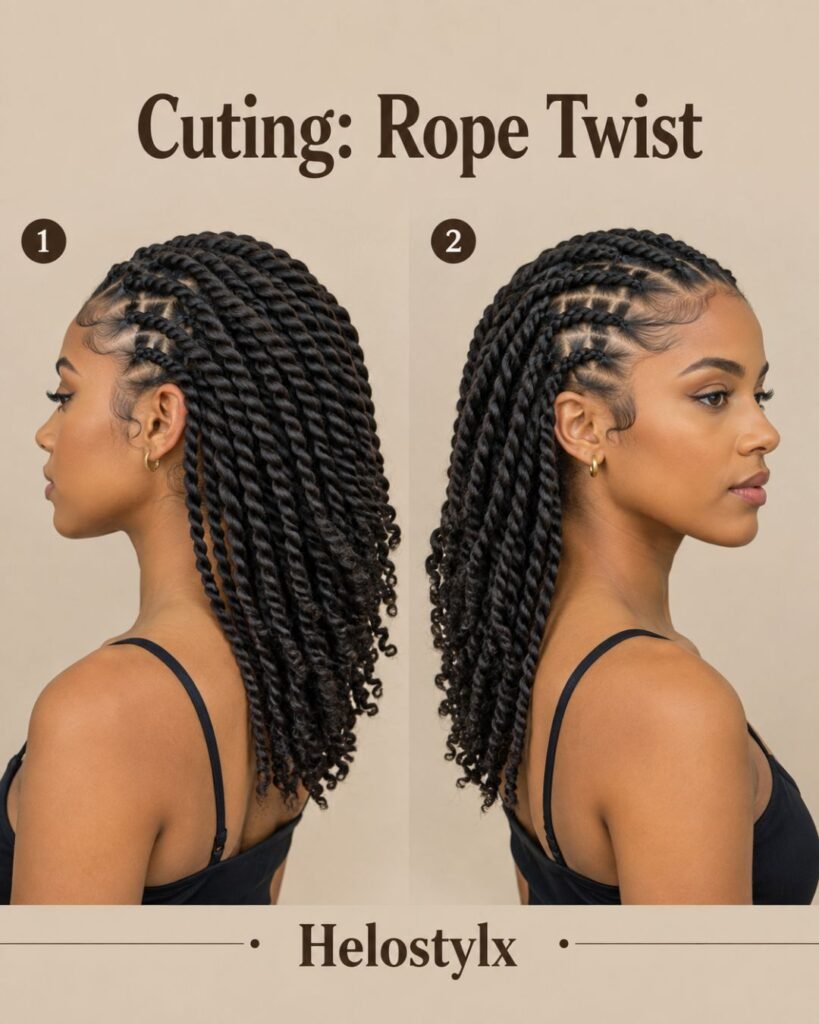
The rope twist is arguably the simplest braid alternative on this entire list, and it still looks intentional and stylish. It works well on its own or as an accent braid pulled back from the face.
How to do it:
- Take a section of hair and split it into two equal strands.
- Twist each strand individually in the same direction, keeping tension consistent.
- Once both strands are twisted, cross them over each other in the opposite direction to lock the twist in place.
- Continue twisting and crossing down the length of the hair.
- Secure the end with a small clear elastic.
Because there are only two strands involved, this style is easy to learn quickly and looks great whether it is neat and sleek or slightly undone and boho.
Also Read This :U-Shaped vs V-Shaped Haircuts: Which Cut Suits Your Hair Best?
Criss Cross Braids
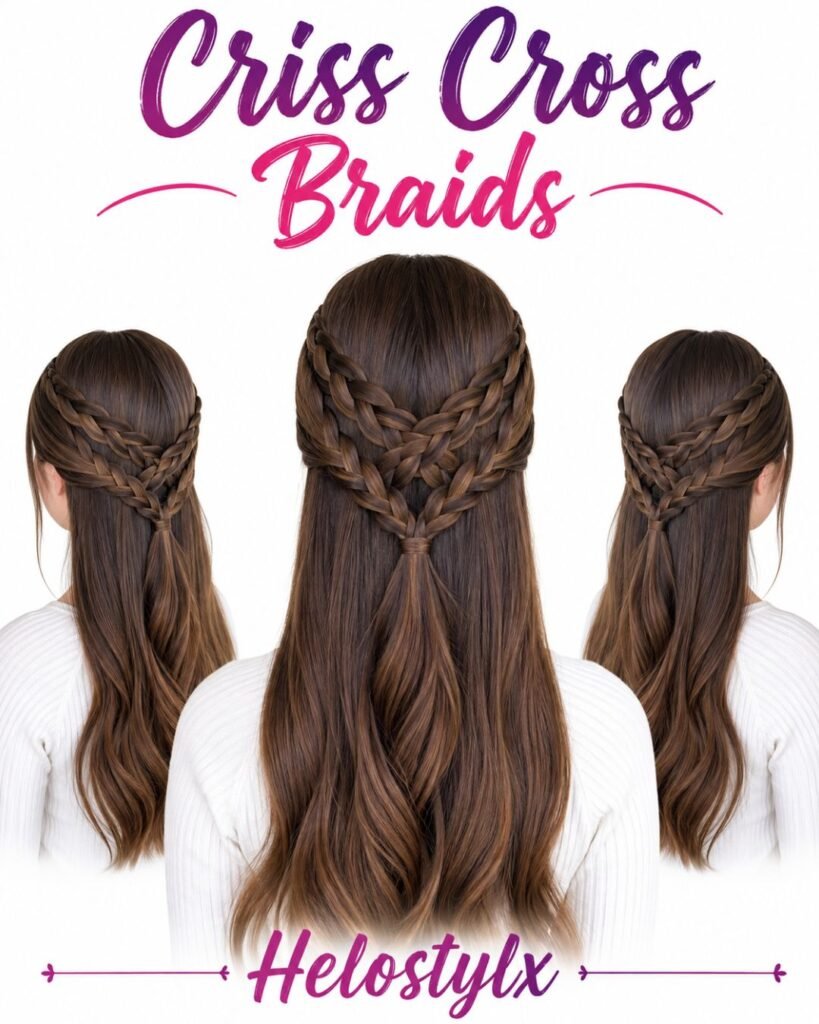
Criss cross braids bring a playful, sporty energy and are especially popular for active days or casual outings. The technique uses two small braids that cross over each other near the crown.
How to do it:
- Section a small piece of hair on each side of the part near the hairline.
- Braid each section down using a standard three strand or Dutch style braid.
- Cross the two braids over each other at the back of the head, right side over left or left over right.
- Pin the crossed braids in place with small bobby pins hidden underneath the top layer of hair.
- Let the rest of the hair fall naturally or tie it into a low ponytail.
This look is a great confidence builder for beginners because it only requires two small, manageable braids rather than working with the entire head of hair at once.
Triple Braid Pigtails
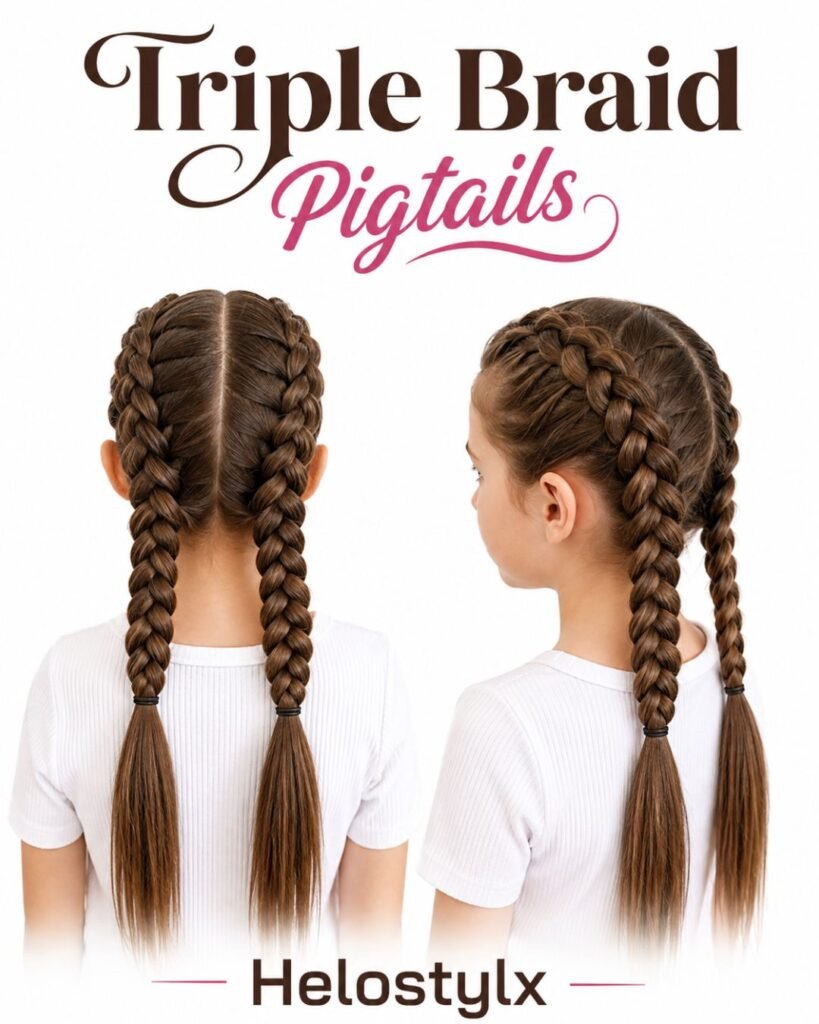
Triple braid pigtails take the classic two braid look up a notch by adding texture and detail without much extra effort. This one is a favorite for kids, festivals, or any day you want a fun, put together look.
How to do it:
- Part the hair down the middle into two equal sections for pigtails.
- Divide each pigtail into three smaller sections.
- Braid each of the three smaller sections into its own thin braid.
- Secure each thin braid, then gather all three from one side together and secure with a single elastic near the base or end.
- Repeat on the other side and gently loosen the strands for a fuller, textured finish.
Because each individual braid is small and simple, mistakes are easy to fix, and the overall style still looks intricate and well planned.
Bubble Braid
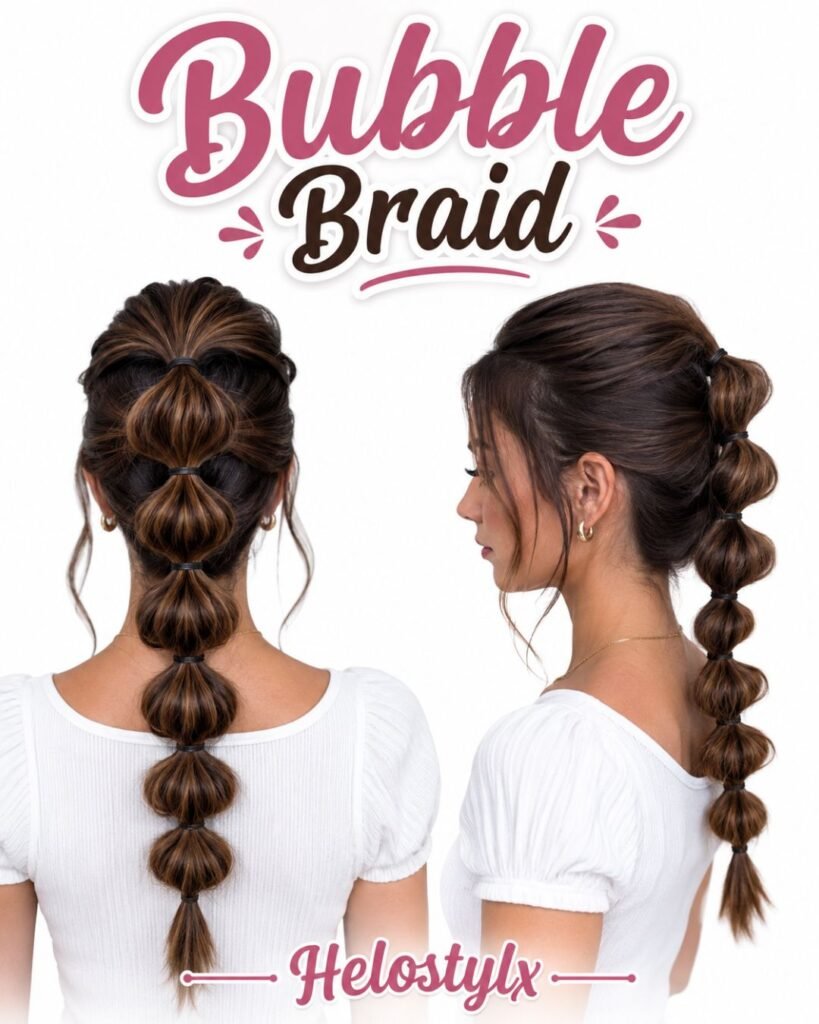
The bubble braid uses regular hair elastics to create a segmented, bubbled effect along a ponytail, and it is one of the fastest styles to learn on this list. No actual braiding skill is required at all.
How to do it:
- Gather the hair into a ponytail at your desired height and secure it with an elastic.
- Add a second elastic a few inches down the length of the ponytail.
- Gently pull the sides of the hair outward between the two elastics to create a bubble shape.
- Repeat, adding elastics down the length of the ponytail and pulling the sides out after each one.
- Finish by lightly tugging each bubble section for extra volume and a soft, rounded look.
This is a wonderful option for anyone who wants a braid like look without learning to braid at all, and it photographs beautifully for special occasions.
Faux French Braid and Other Simple Variations
Beyond the seven core styles, a few quick variations are worth knowing since they build directly on the skills above.
- Faux French Braid: Create a standard three strand braid, then gently tug the edges outward to mimic the fuller, feed in look of a French braid without adding new sections along the way.
- Simple Braided Hairstyle: A single loose three strand braid worn over one shoulder, perfect for a five minute everyday style.
- Double Boho Braids: Two loose, slightly messy French or Dutch braids worn on either side of the head, gently pulled apart at the edges for a relaxed, festival ready finish.
These variations prove that once you know the basic braid, small tweaks in tension, sectioning, or placement can create an entirely new look.
Common Mistakes to Avoid
Even simple braids can go wrong in small ways that affect the finished result. Keep these common issues in mind as you practice.
- Uneven sections: Grabbing inconsistent amounts of hair leads to a lopsided braid. Take a moment to check your sections before you start crossing strands.
- Braiding hair that is too slippery: Freshly washed, silky hair can be harder to control. A light texturizing spray or dry shampoo can add grip.
- Pulling too tight: Overly tight braids can cause tension headaches and are more likely to slip out by frizzing at the roots.
- Skipping practice on a mannequin or in front of a mirror: Braiding your own hair blind is much harder than braiding someone else’s. Use a mirror or practice on a doll first if you are struggling.
- Rushing the finish: A loose elastic or missed strand at the bottom of the braid can unravel the whole style within an hour.
Small adjustments like these make a noticeable difference in how neat and long lasting your braids look at the end of the day.
Final Thoughts
Braiding is one of those skills that feels impossible right up until it suddenly clicks, and these seven styles are designed to get you there quickly. Start with the simpler options like the rope twist or bubble braid to build confidence, then work your way toward the French braid and pull thru braid once you feel comfortable with basic sectioning and tension.
The more you practice, the faster and more natural these styles will become, until you barely have to think about the steps at all. Keep a few good elastics, a rat tail comb, and a bit of patience on hand, and you will have a whole rotation of easy, beautiful braids ready whenever you need them.
